Once upon a time……

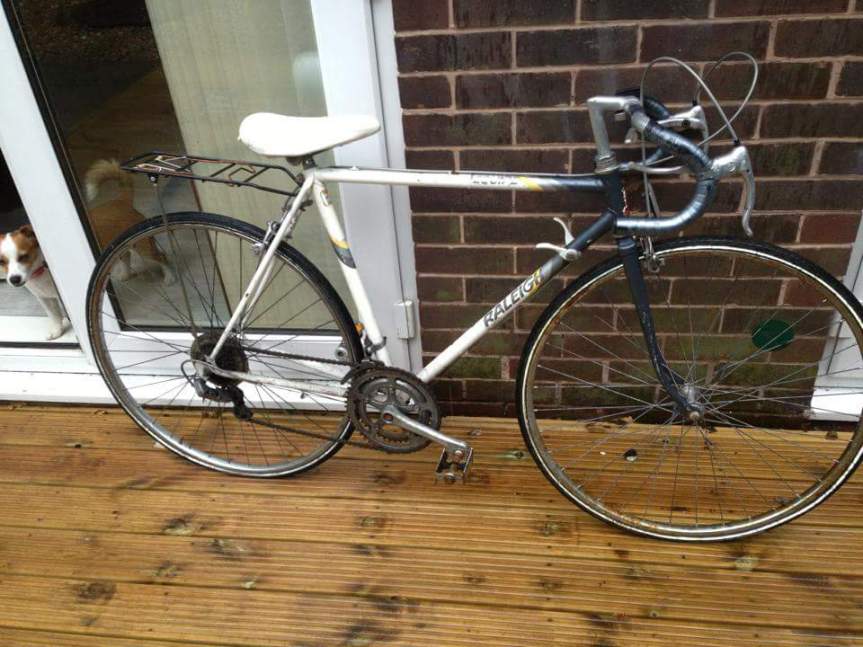
As some of you have seen in previous blogs. (If you have indeed read them) I have been doing up a 1987 Raliegh Equipe road bike.

If you haven’t seen previous blogs fear not! Hear the enchanting story here!

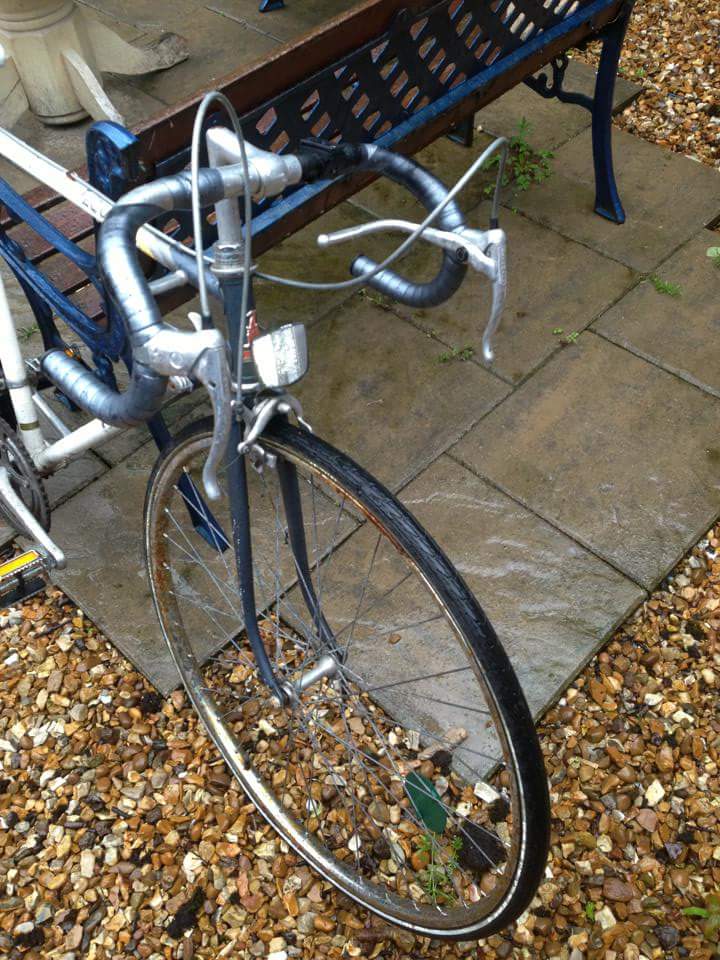
One summers day.. or winters. Actully I have no clue when it was. My dad walked home from work. He came across a rusted old raliegh.

It was covered in overgrown weeds and was much unloved. Left alone for the Scapman to take her away.

I dad took pity on the poor thing and took it from its leafy prison and rolled it home.
image
In its glory

Even though she was covered in rust. She seemed in rideable knick. My dad didn’t plan on spending money on this so he covered it industrial mechinary grease (okay when I say covered it I am pretty sure it was 40% grease) and used electrical tape as bar tape…. cheap skate!

However he used this to commute to work everyday. At such a speed too. I would often get ‘oi! Your dad nearly knocked me over on the shared paths!!’ Or ‘he cut up in front of my car!’ He wasn’t a sensible rider. Just to set the record straight I am a good rider :).

image

After a few years however my dad discovered public transport. This was his undoing.

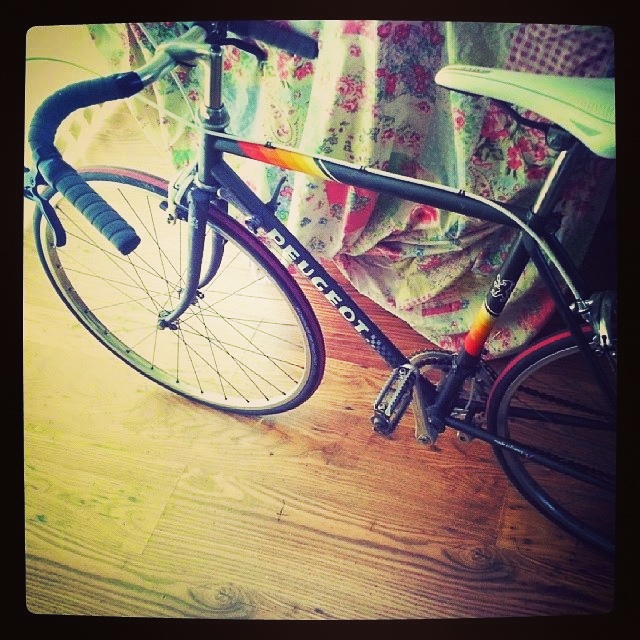
I had asked him for this bike for along time After seeing my better half do up her peugoet.
image
Said peugoet…..

My dad didn’t budge until that one time we got snow… you know a few years ago??? Lasted what 3 days. Something like that anyway. He got the bus and got comfortable with it. Also he got another retro road bike.  He never rides that really, but the group sets better and it’s a 501 frame. So he has the option. I didn’t leave him stranded.
image
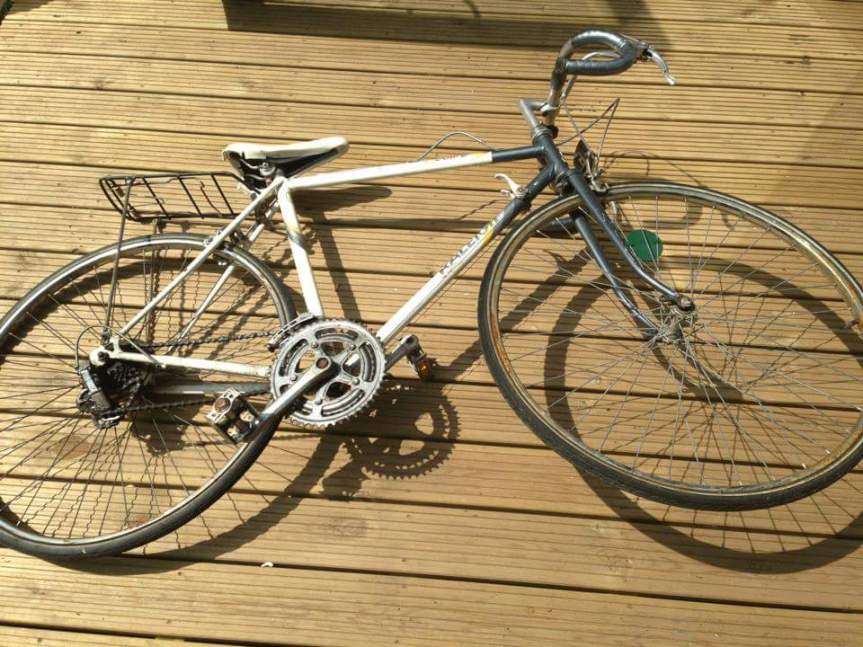
Finally she was mine

He decided to finally hand me her. Covered in dark grease and rust, with a decaying set of wheels and a rear cassette so clogged up it was a miracle the chain had not been consumed by the gunk on it.

You know when I think. Hmm maybe I took on too much?

No me neither!  I was like time to strip her down!

Undressing the lady.

The raliegh suffered from years of non maintenance and poor storage. The wheelset was getting to a point were they had to be replaced.

I decided the paint work needed sorting too. Was a bit cautious about taking all the paint off. I looked at other blogs however and pics of rebuilds and saw alot of fantastic jobs people had done with retro bikes.

image

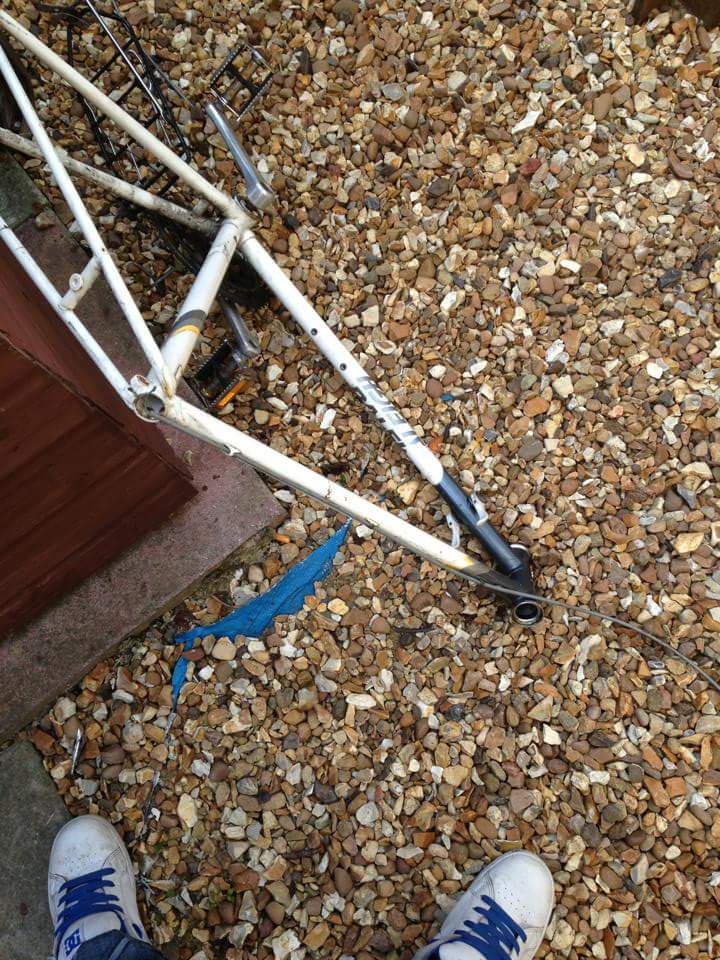
I started taking her apart. Was a few tough nuts in there. And other seized bits and bobs that needed persuading. But soon I got her down to her frame.

image

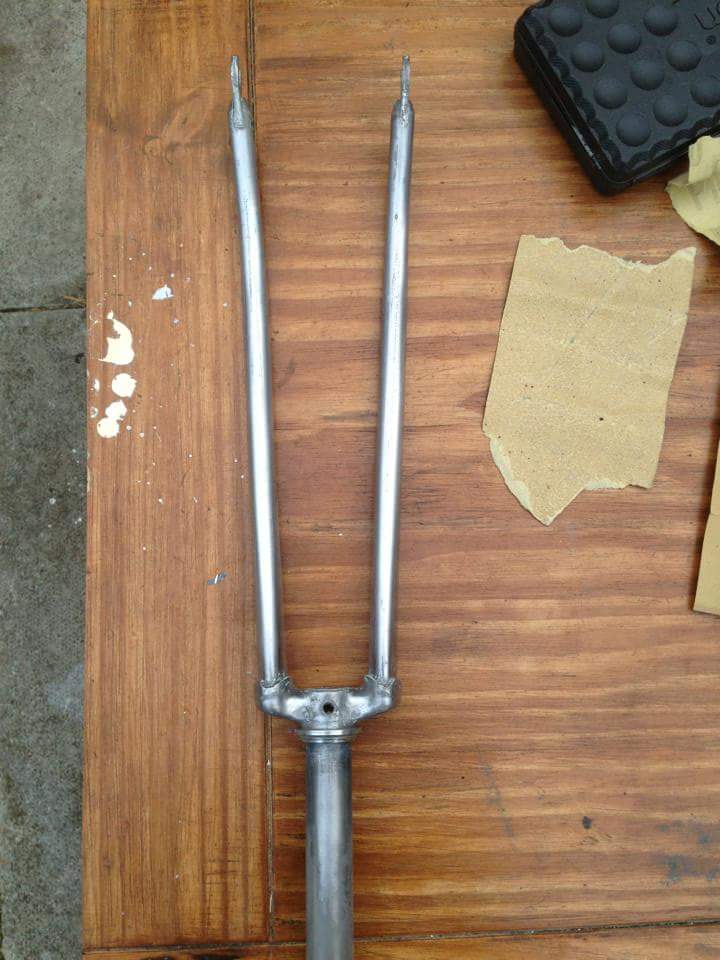
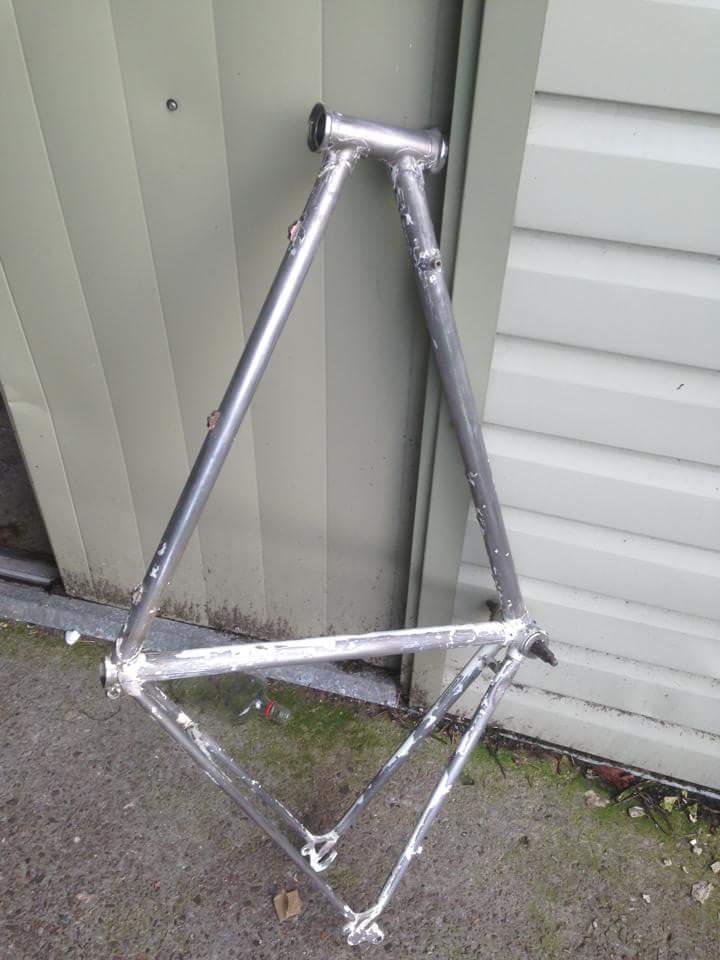
I was spoilt for choices on what I wanted to do. I decided to go out and get some stripping materials and get her naked.
image
Frame

image

After spending gruelling hours, days… no infact a few weeks getting this frame raw. I booked it in for powder coating. only to be told by the powder coater firm that they would have stripped the frame and forks for a tenner.The paint stripper was £15.

Lesson learned… research folks!

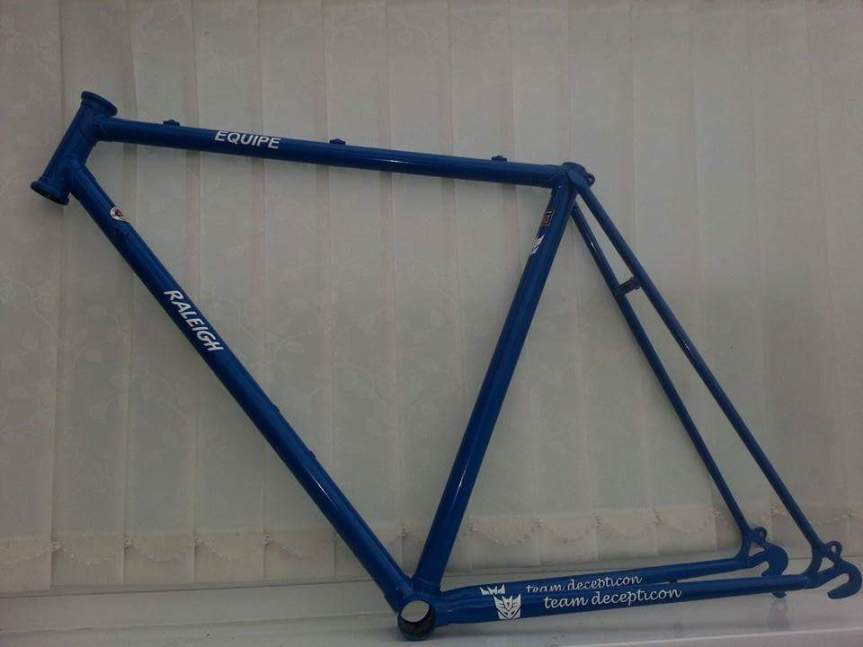
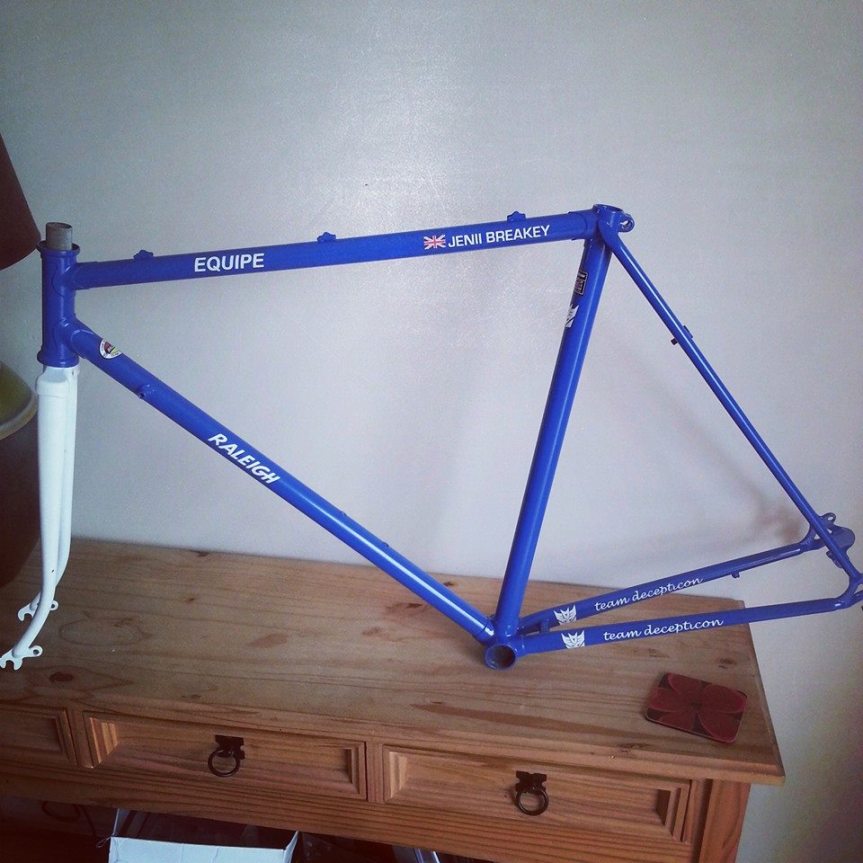
I got her back all shiny and powder coated. 

Time for some make makeup!

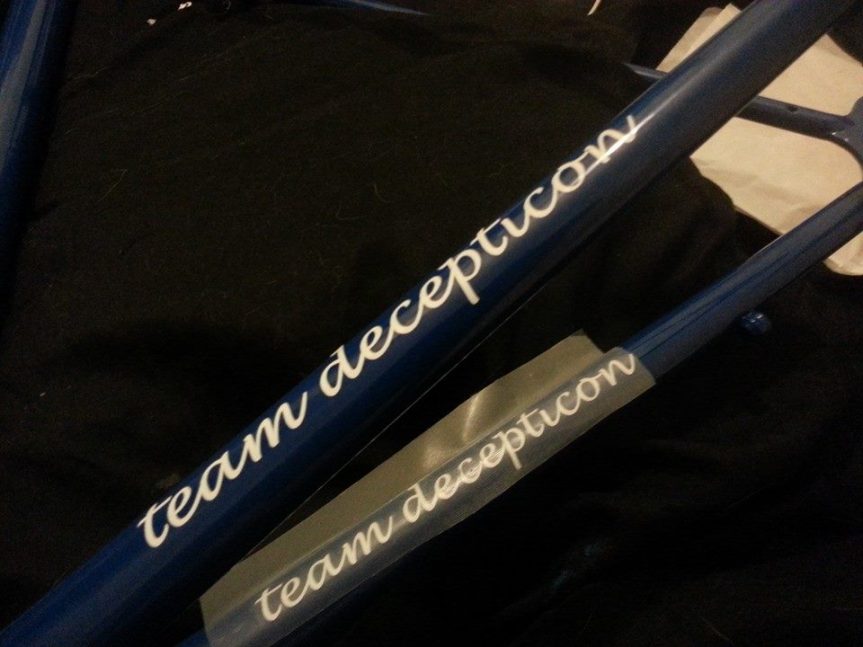
After collecting her from the powder coater.  I had had some decals made. I wanted this to still display the fact it was a Raliegh Equipe. But I wanted a modern stance to a retro bike.

image

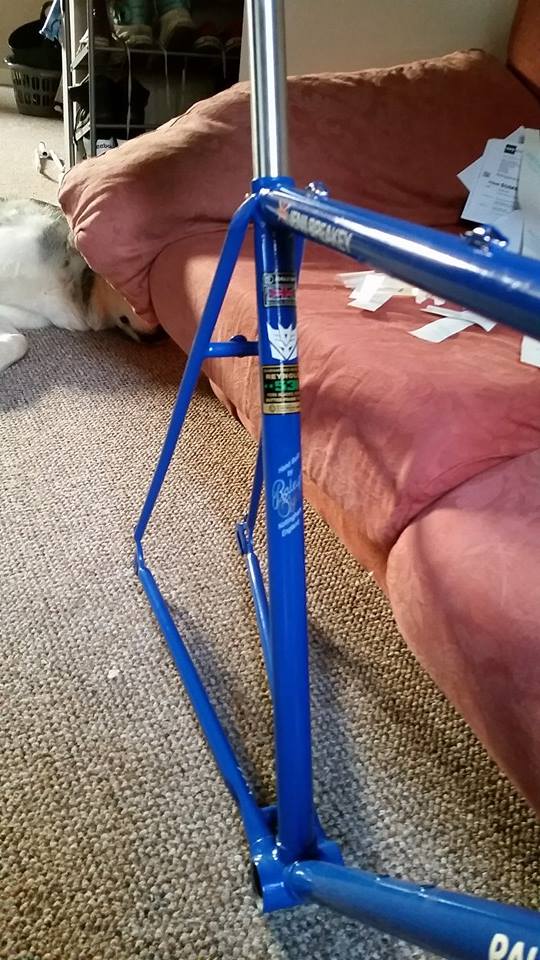
I am also a geek. Excuse the transformers decals!!
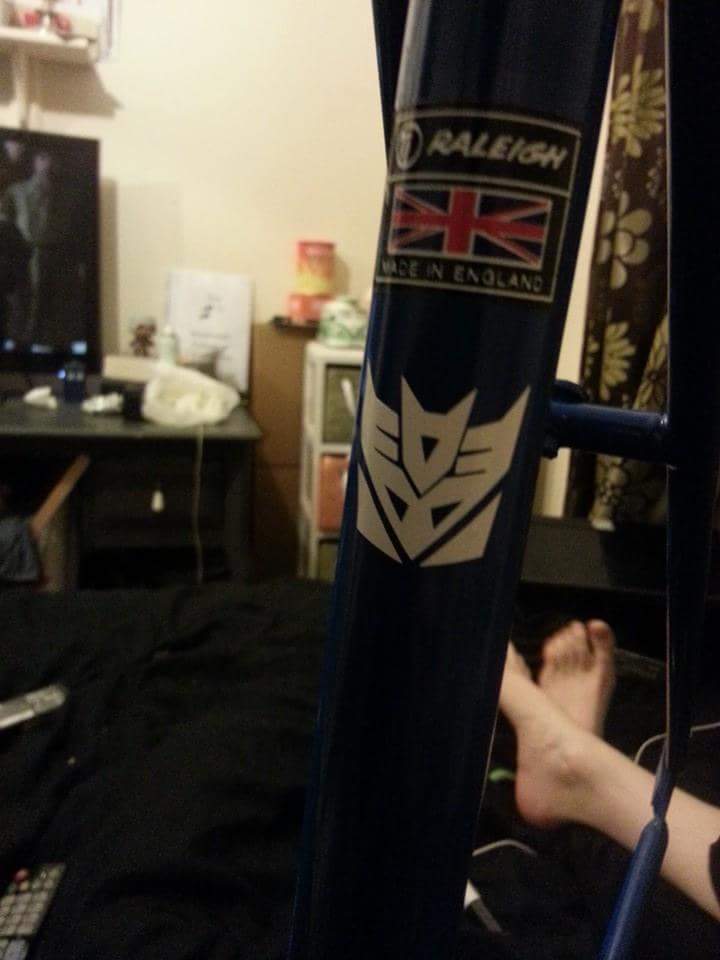
image
Decepticon ❤

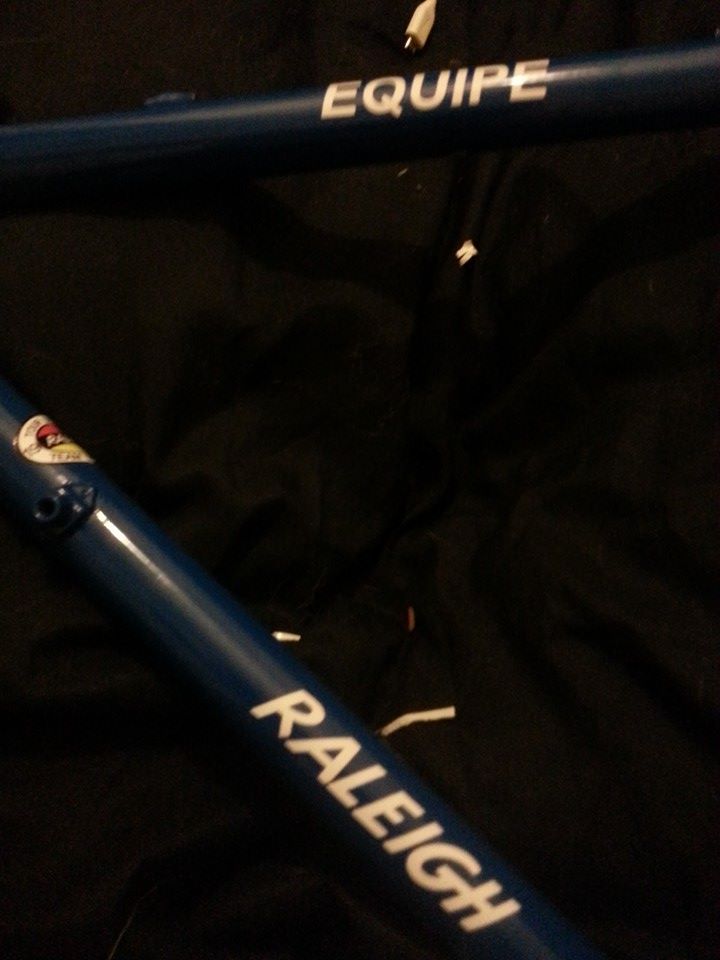
I got some Raliegh decals off the planet ebay…
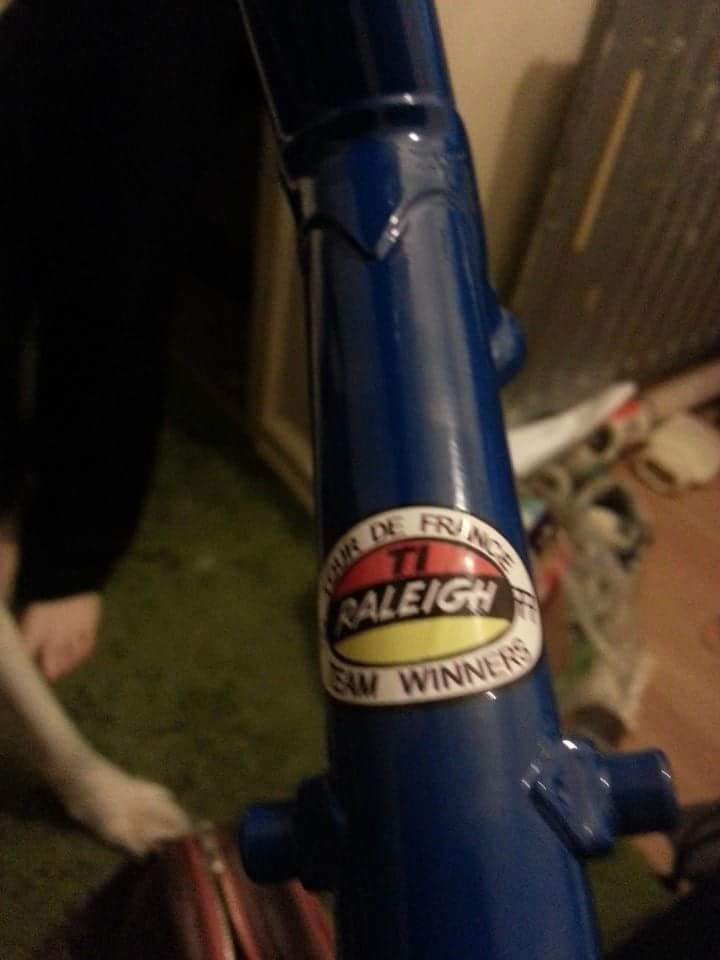
image
Tour de France winners!

I replaced the head badge with a sticker too… just to continue the shinyness.
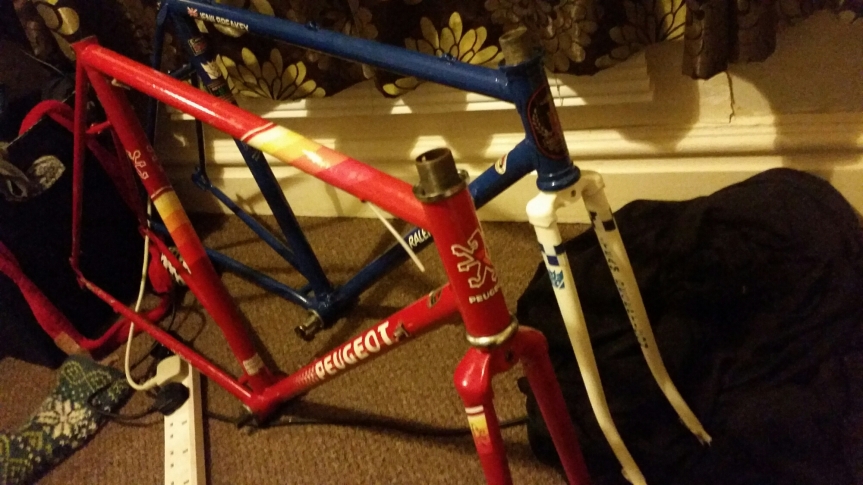
image
Along side her sister. Polly

I even got decals of my name.. looks professional. Sort of.

Organ transplant results.

She was in need of new parts. As I mentioned wheels, brakes for sure and a crank.

So I ended up sourcing a second hand part groupset.

image

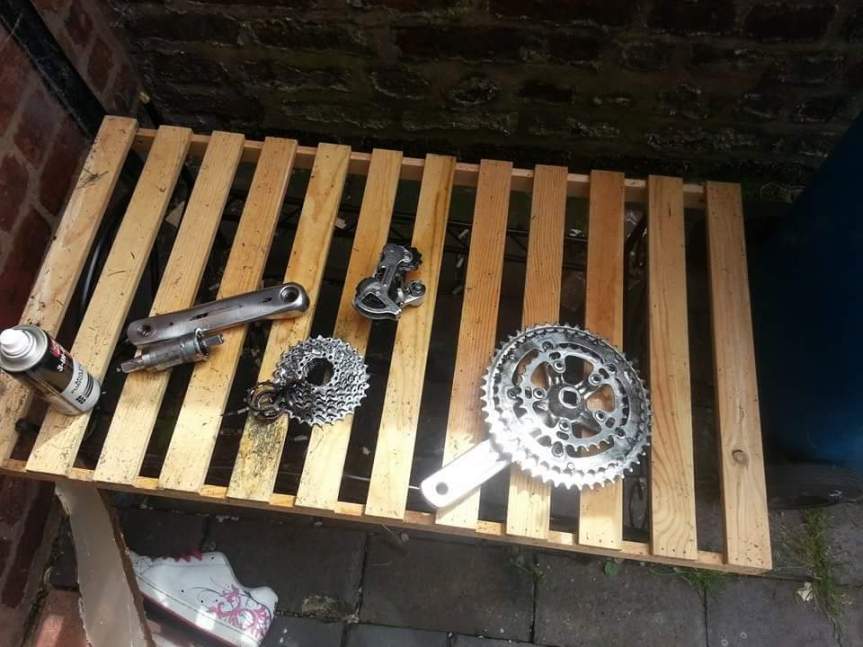
All gt85’d and ready to be placed on her body. I added some more accessories such as the checkered reflective tape in white and blue.

image

For added nighttime safety of course!

I took what parts I had along with my frame to the cycle doctor. (My local bike shop I mean Cycle Centre Runcorn.) I asked him to build up my frame with what ever parts he could get hold of.

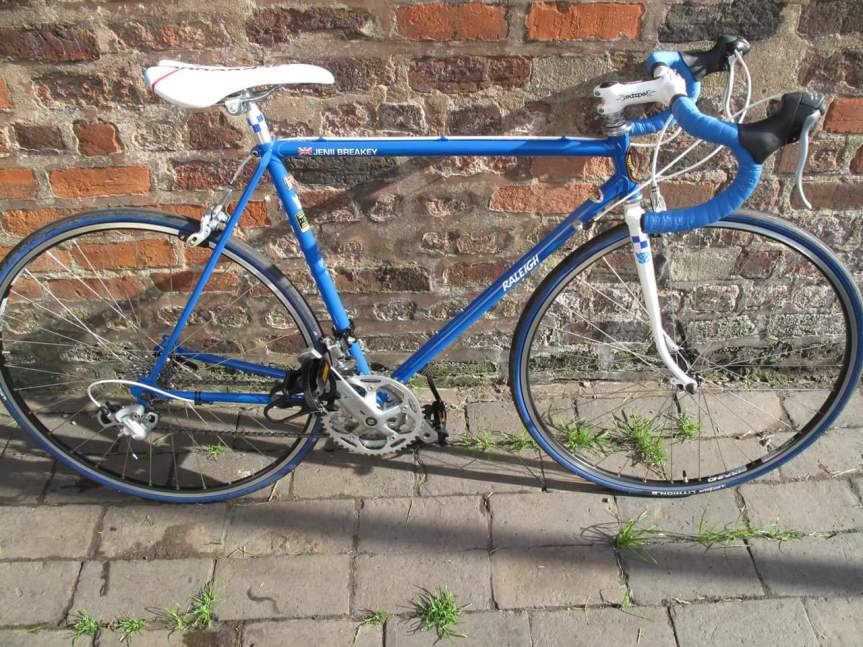
A few months later I returned. I walked into the shop to see her. All dolled up, clean and in a rideable state.

My eyes lit up. I was delighted with the results. When someone says you can’t change a women… They lied…

( disclaimer…. not true with real human women )

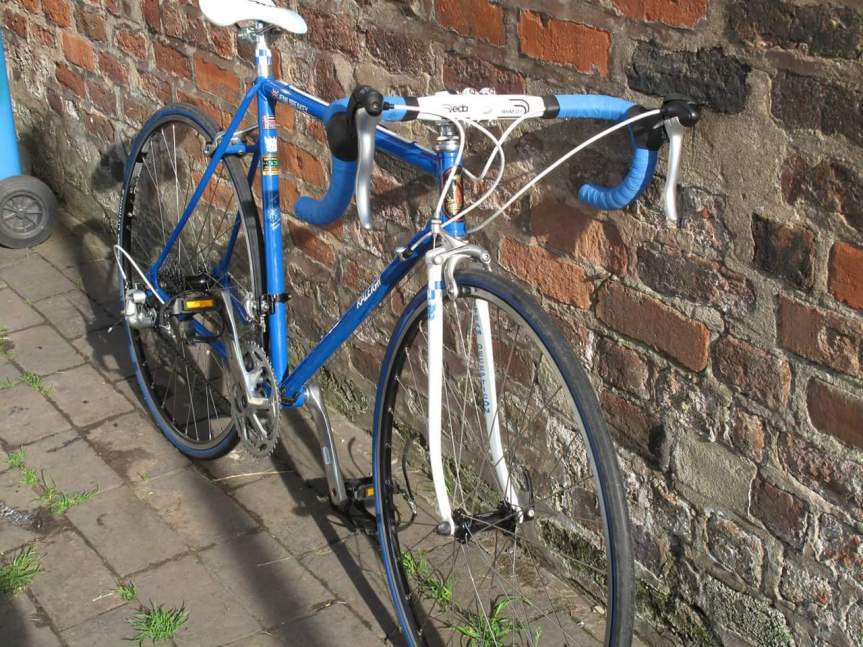
image

Look at her!! LOOK!

Maybe I ruined a classic…. In my opinion I saved her from a life of rust and grime.

image

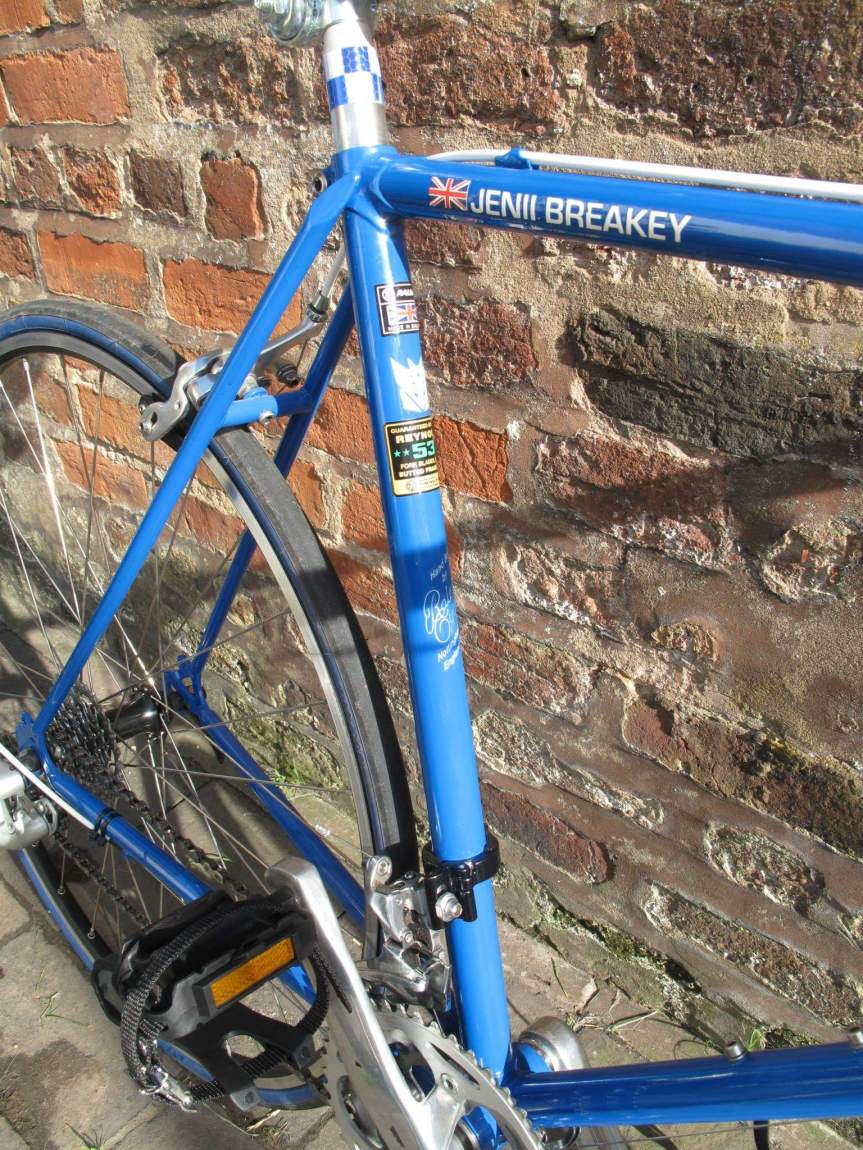
Covered in enamel lacquer. Not as shiny as the gloss version however it takes a dent better and won’t peel off! The decals look well in place. My second hand crank looks amazing along with my front and rear derailleur.

image

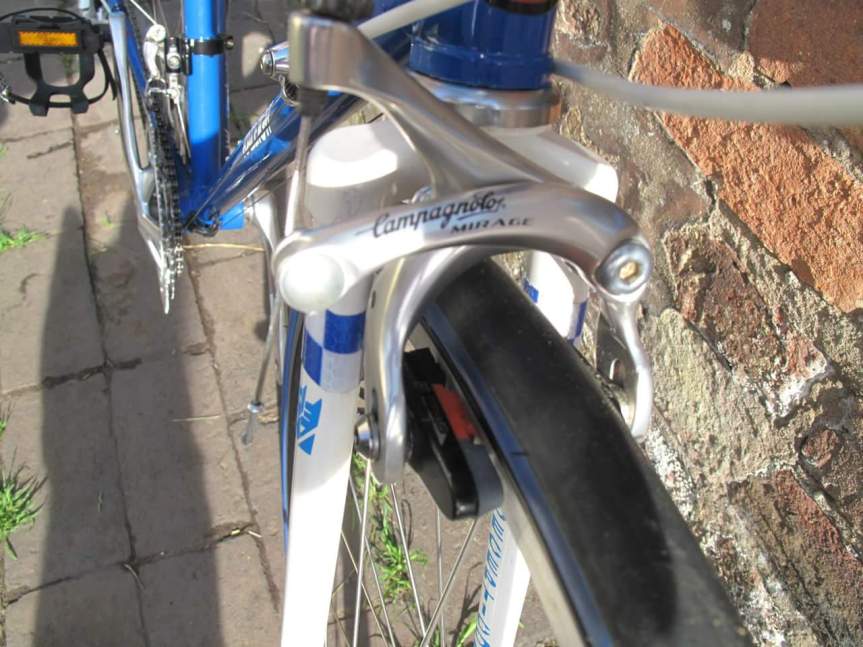
Look at the brakes. This bike still has its classic parts. Of course these are not of my bike. But hand downs from someone’s colnago!

image

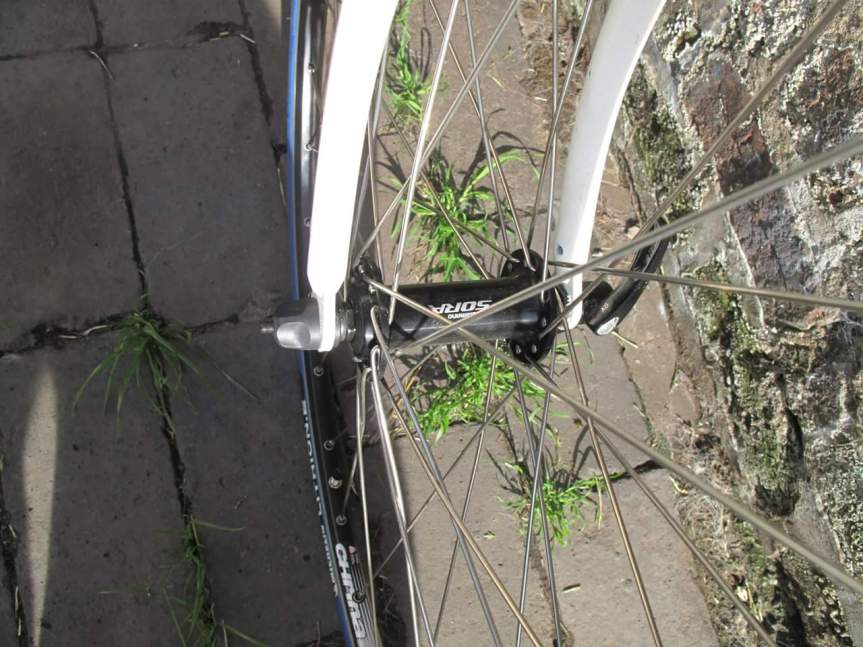
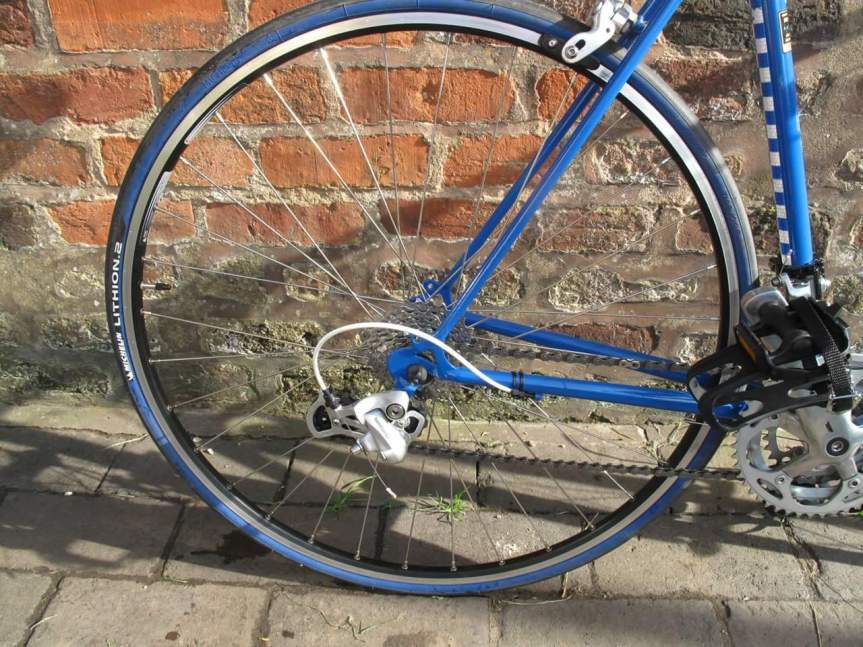
Black Chinra rims. With a slightly older set of sora hubs. Runs smooth and silently though! 

image

New shifters. And new deda handlebars and stem. They take away alot of the weight. Making the bike very light for a steel steed! I can carry it one handedly with ease.

image

As I am a lady. I have to be colour coordinated. Blue walled Michelin tyres. With some lovely white outter cables.

image

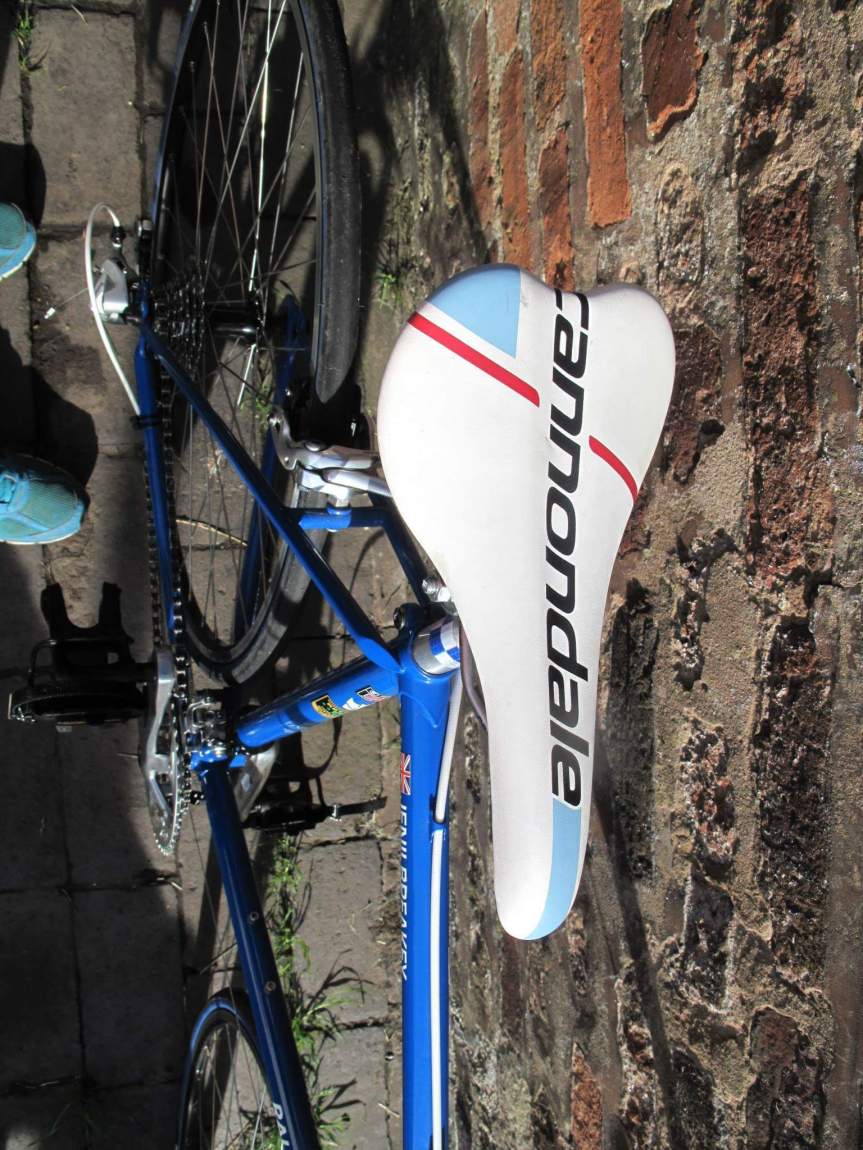
And my lovely 99p saddle. Of ebay of course.

image

It’s taken me two years to complete this project. In that time I have broken a bone.  Walked out of a job. Moved house three times, got a new job, got promoted in that job.  Had an event impact my life and spent a silly amount of money (for this bike anyway) on this project.

I am glad it’s over if I am honest. Although I have nothing to get me excited when I see cheap bike parts or decals!

This bike is 100% mine. My dad gave me it we don’t get along but cycling is something we both enjoyed. I hope to have it for many many long serving years. I means alot to me and I hope I achieve silly amounts of miles and make many memory’s with it.

Thanks to Cycle Centre Runcorn for helping.  Also Frodsham Bike Project for his help and Halton Powder Coating for the excellent paint job.

Awesome project.

Happy riding guys!

Welcoming a new member to the household

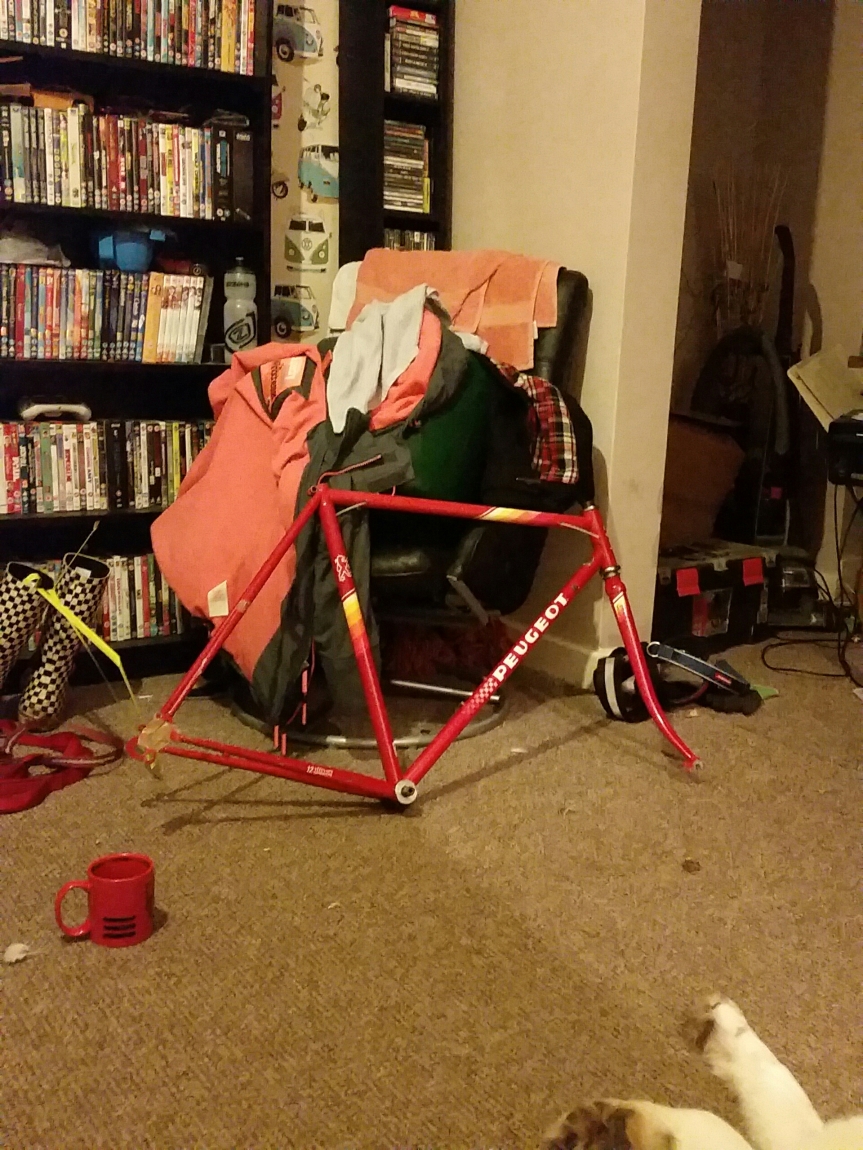
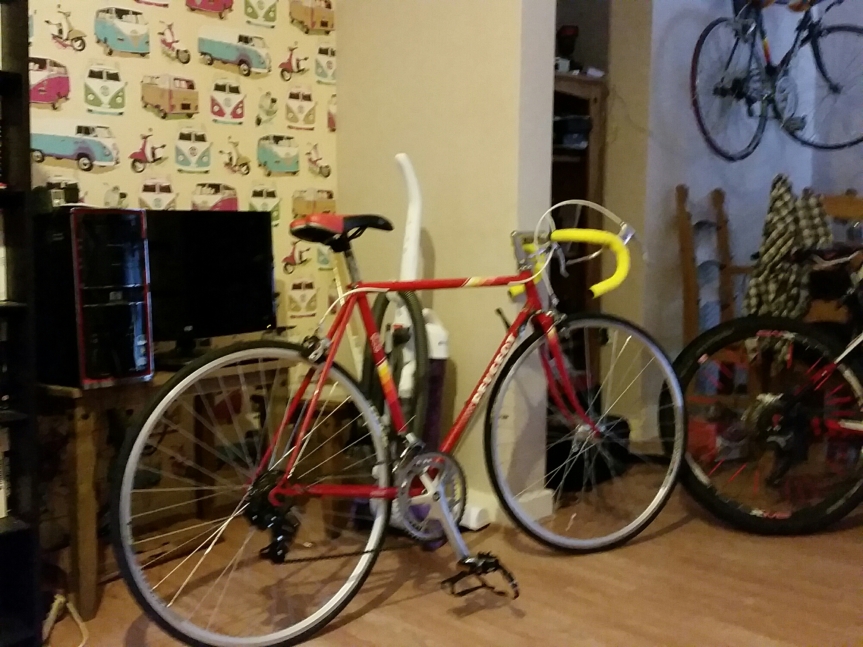
You know when you force a present on someone? In my case it was a lovely wee Peugoet for my partner.

I bought the frame and forks for about 15 quid on ebay, instantly I thought this would be an awesome pressie!

Never mind the fact that I have a project on the go already that I have just left at the shop. I am one of those kinds of people who start something when they really shouldn’t. 

image
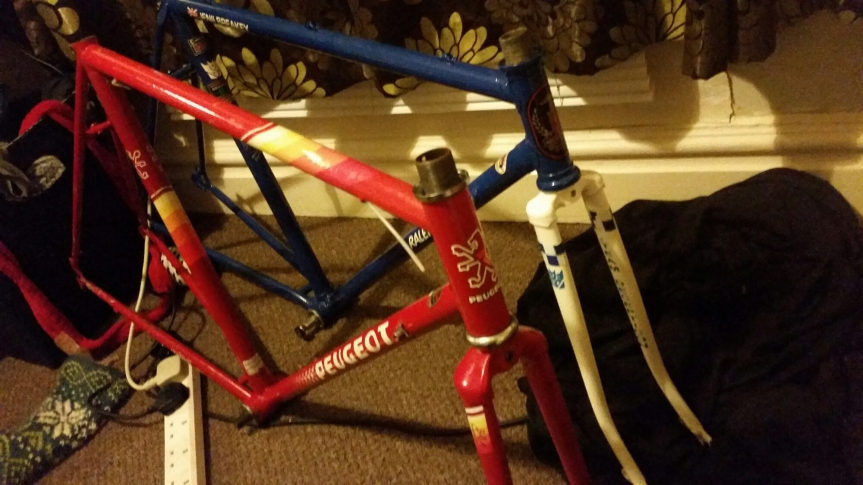
Frame and forks.

I decided to let the pros build this up.  So I took it to my local bike shop The Cycle Centre Runcorn and just told him to get it to a rideable state.

The peugoet was left with my raliegh. Although I stated I wanted the peugoet done first.

I wanted a retro but I wanted to source some new chrome parts. 

So combined with some recycled parts and new store bought ones the little red frame got built bit by bit.

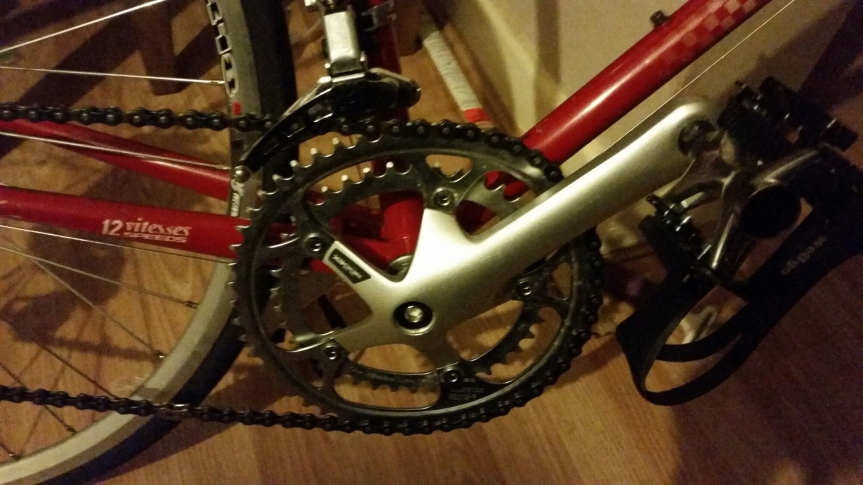
I had some weinman dual brakes levers and a shimano 300ex crank lying around so I took that in with it. Also some raliegh vintage drop bars were given to me too.

I managed to buy a simplex derailleur…. True part for a Peugoet! And the gear levers to match for cheap on ebay.

image
Shimano ex 300 crank

Most parts I got fitted but one or two had to be replaced because they wouldn’t fit the frame. The rear derailleur was one of the parts that wouldn’t fit. So the shop supplied a cheap shimano alternative.

image

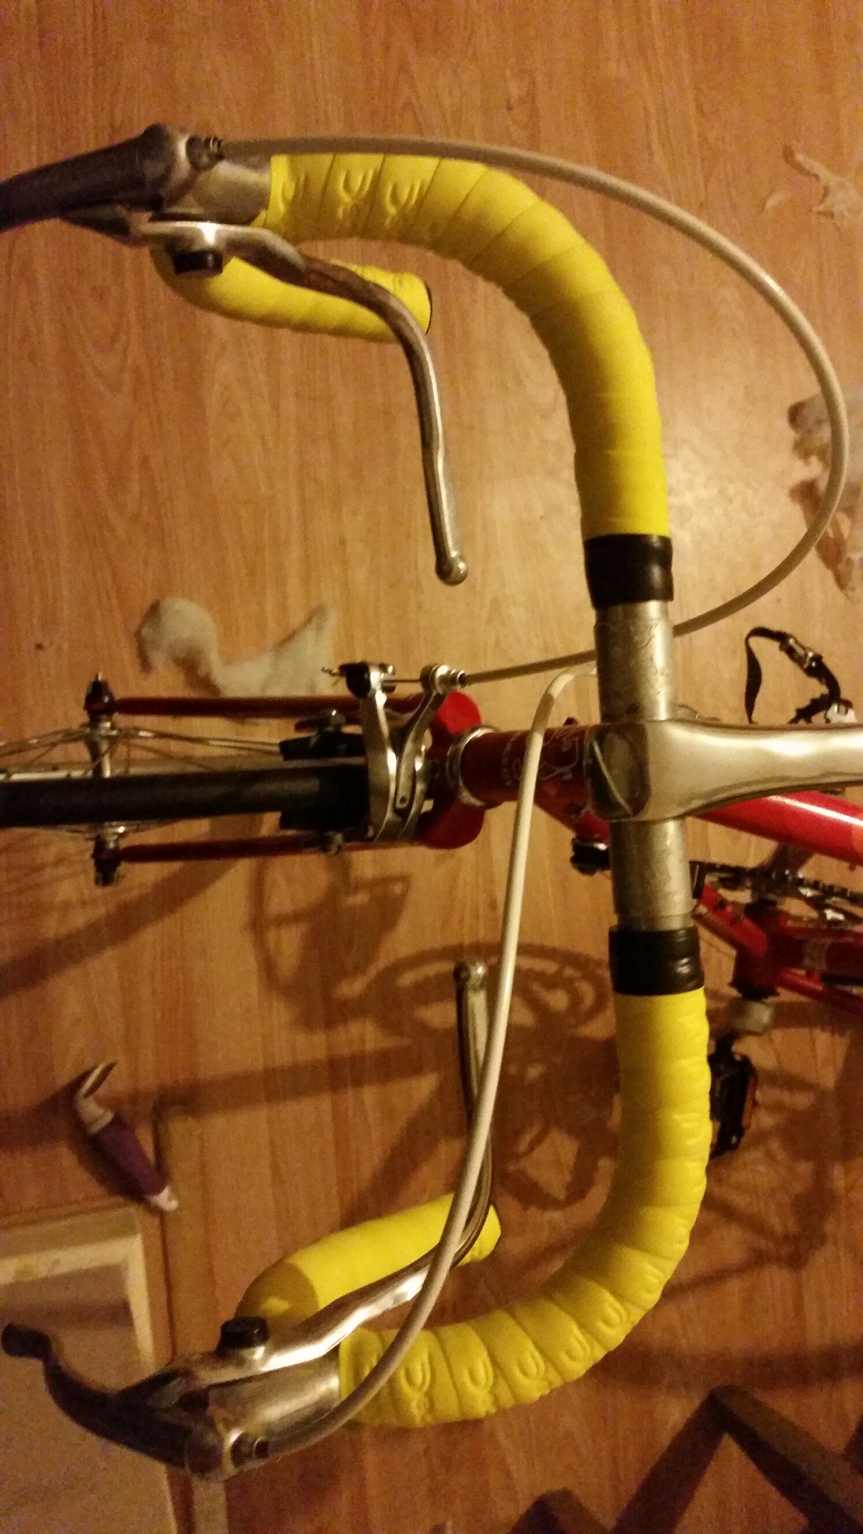
A new quill was purchased and also some brake calipers and of course sone fab yellow deda tape.

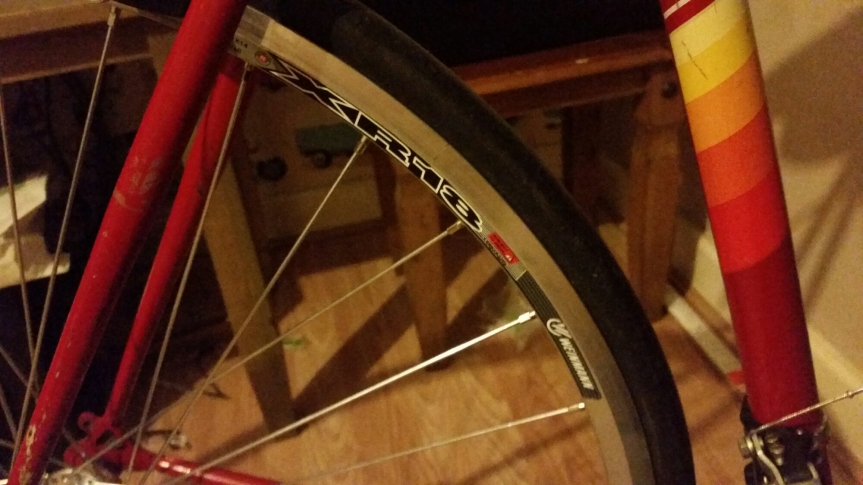
I needed some decent quick realise wheels so I went with some weinman XR18 700C’S

image

With some second hand tyres (that are nearly new) and also a previously loved saddle she was finished off with some new brake and gear cabling. Finished off with white housing.

image

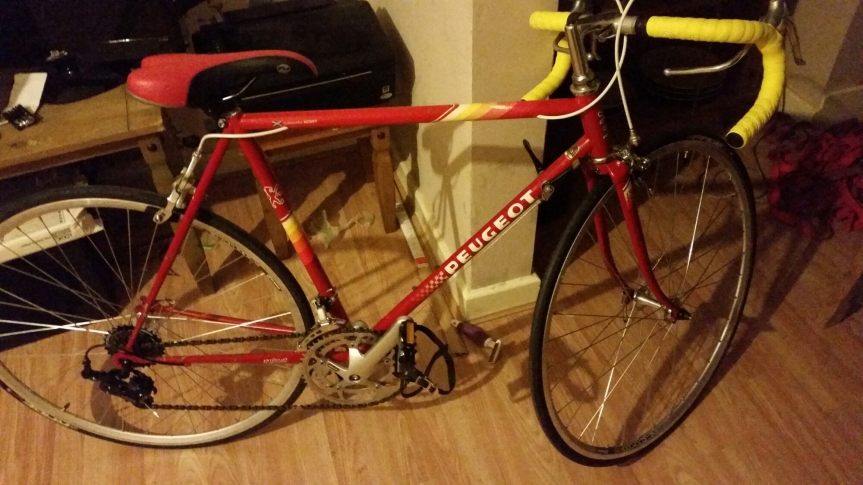
Ta da!!

image

image

Pretty right?

Now to actully make a move on getting my Raliegh finished!

image

Can’t wait too see the completed project!!

The peugoet still needs a test ride. Which will happen soon enough.

For now it sits in the living room with the others 🙂 .

Applying make up (paint and decals)

So in the last post you may have seen me strip my frame down to its naked sexyness…… so after undress her I need to apply her make up and make her pretty again.

I had so many options. Do I use rattle cans ? Take a trip to homebase and grab some rustoleum?

Do I get a professional to do it like a company such as Argos cycles?

Or do I contact a local powder costing firm and get them to do it?

I went for the powder coating option. This was the cheapest and easiest way. Also by chance I lived within a mile of one. So winner.
Remember when I chemically stripped by bike with nitromors? Well let me tell you it was a complete waste of time. I took my frame in all naked and shiny and after telling the gent about how I stripped it he let put a wee giggle. He hen offered that if I get any other frames I want stripping he would do it for a fiver…….. using the fantastic power of sand blasting. This was cheaper than the nitromors and wire wool and sandpaper this was £15.

Sandblasting is basically a pump that shoots out sand or small solid pellets that When blasted against the item your stripping, it peels away at the paint leaving a flawless paint less finish. What a idiot I was should have looked into this sooner.

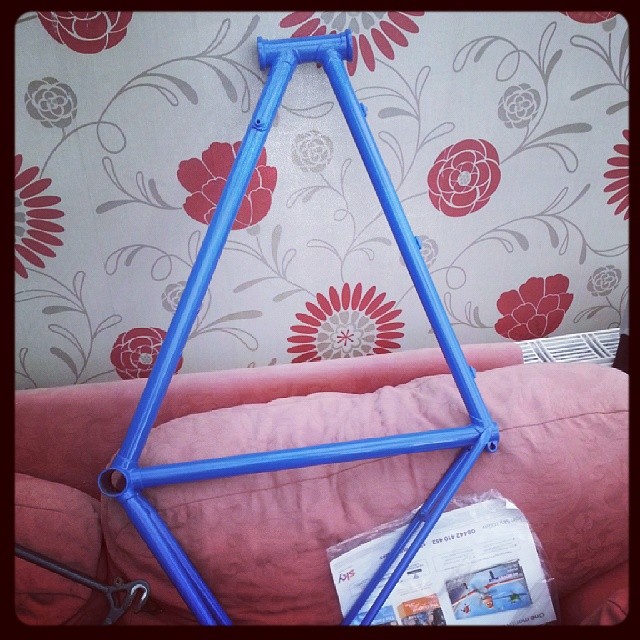
Anyway. I gave Ramona (my frame) to the powder coater and he gave me a choice of colours. I went for blue.

image

Pretty or what?

I recommend you tube a video of the process. It’s awesome, very durable too.

So after laying the main foundation down it was time for decals. It was still going to be marked as a raliegh equipe So had went to my local bike shop who had a decal cutter in this store and he whipped me a few up.

image

I have a thing about transformers so I had to put these on! I did have to buy a few on ebay. Like the raliegh badge and a few others.

image

image

image

image

I got the forks powder coated white… just to be different

Next I get to buy the crank set and other bits and bobs.

If you do something similar remember to use clear lacquer as a top coat. This will protect your decals. I have Coated this to death. But it should be enough weather protection for it. leaves a lovely sheen to.

I will continue to post when I buy her ‘clothes’ to dress her.

Cheers for reading!

Stripping Ramona down (my bike…. of course!)

Imported from my Blogger account. Posted 10/08/14

As mentioned in my introduction blog, here is the beginning of my project on 1987 Raleigh Equipe.

This was a bike my Dad found one day on the way home from work, It was covered in grass and brambles that had overgrown and entangled in the frame. Anyway he carried it home cleaned it up greased it ( when i mean grease not bike grease no! he wouldn’t buy any, he used machinery grease!) and replaced some bits and bobs on the bike, He decided to keep it for a number of years as his commuting bike. After seeing my partner restore a 70’s Peugeot I really, really wanted a retro bike I could customize and restore. My Dad loved this bike. I had to beg and moan for ages to get it off him but he wouldn’t budge. Not until he came across a flat tyre and discovered the local bus service 🙂 .

So I won. Got his bike, Soon as I got it into my back garden I tore the thing apart…This was a completely silly idea. Taking a retro bike apart you should do it section by section make a note of what bolts and nuts you have taken off the thing and clean everything down incase you cannot source the parts if you have  to replace them. I still have a box off bits I have to sort out and decide were they belong on the bike!

ramona1

So as I said i took the bike apart. Deciding that the paint work was a bit knackered I thought a complete re spray may be the way to go. Inspired by the fixie community who customize their bikes I set out to make this a completely unique custom build.. However I like gears and brakes… So this will not be a Fixie!!

ramona2ramona3ramona4ramona5 ramona6

I stripped the forks with just elbow grease and sandpaper.. This became far to time consuming.

Then I discovered Nitromors! HUZZAH!

Nitromors is a magical paint stripper. Also its very toxic and smells and burns. So yeah fantastic stuff just make sure you wear gloves, also a mask and make sure you use the stuff outdoors or in a shed. OR maybe… Read the intructions, thats a great place to start.

Nitromors_Paint_Varnish_Remover_Small

Available at Most DIY stores such as Wilsinsons, B&Q and homebase.

So anywoo after finding this product I proceeded with the stripping of the paint on the frame. In the shed. On a old table I applied the gooey green stuff to my frame nice and thick. Also armed with wire wool and a wire brush I left the frame of which now resembled a zombie frame to settle and begin to make the paint blister and bubble.

ramona7

I spent 15 – 20 minutes doing other really important things of which I cant remember.. maybe making coffee I don’t know whilst the Nitromors took effect, Then I applied a second coat and did other stuff again for a while.

After doing other stuff for again a few more minutes i began to strip away at the frame with wire wool and the wire brush. Depending on the age of the frame and how well it has been painted this could take hours or even a day or two to get it squeaky clean. Also will require a little bit of sanding and elbow grease. I had two frames on the go. This took about a week i am not going to lie…

ramona8

Anyway after using a bit of the old elbow grease, lots of sandpaper and an unlimited amount off coffee breaks I finally had a paint-less frame. now it was down to the exciting part of choosing what I wanted to do paint wise.

I will bore you with that in my next blog.

Laters x